The User Approval page displays a list of users awaiting your approval. Users who have changed their installation, state or component affiliation or have requested new roles must be re-approved before any changes can take effect in TAP EventPLUS. These include the following:
New users who have applied for EventPLUS user accounts.
Existing EventPLUS users who have changed one or more of the following in their user profiles: State Affiliation, Service Component, Installation, or Staff Role.
You are notified by email of any user(s) requiring your approval. Alternatively, you can view and select from the list of users awaiting your approval on the User Approval page.
Notes:
Only staff members with permissions to approve users in TAP EventPLUS have access to this page.
Until approved, the user awaiting approval cannot log into his or her account.
This topic describes the steps required for the following:
To view users awaiting your approval:
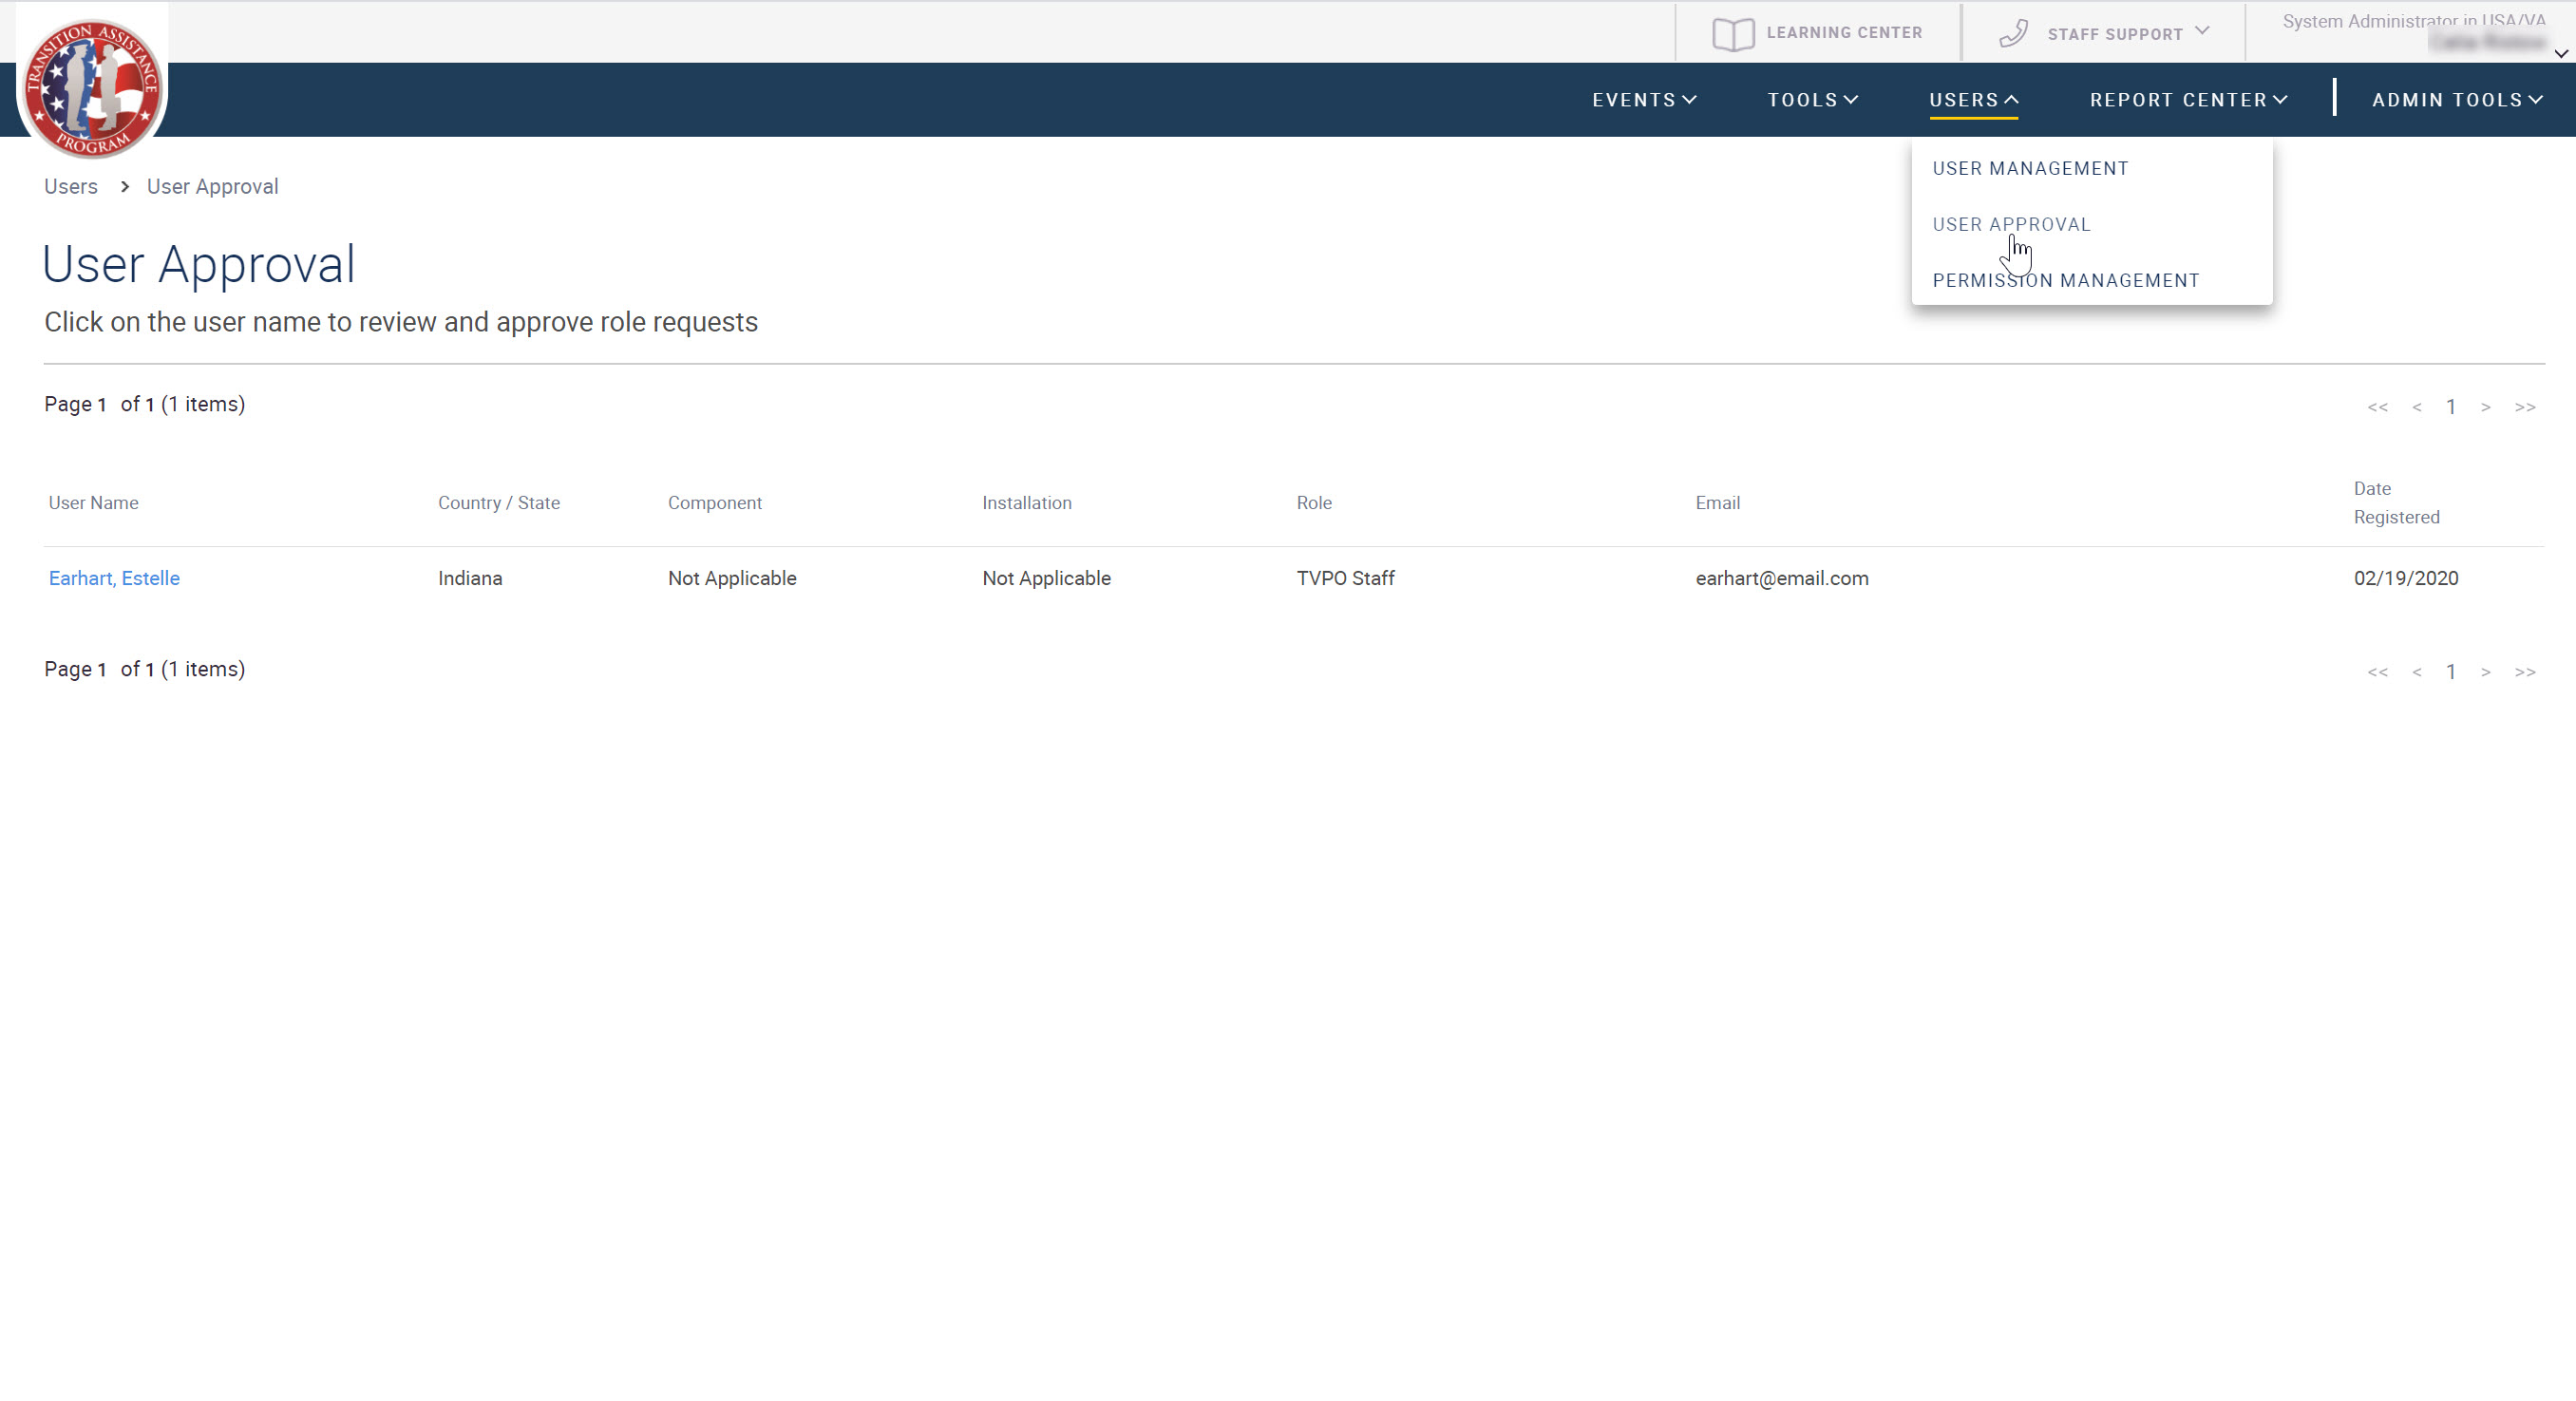
1. Access the User Approval page from the approval email you received in your inbox, or by hovering over USERS on the TAP EventPLUS menu bar, and clicking USER APPROVAL.
2. From the User Approval page, locate the user(s) you want to view by scrolling through the list. Use the page arrows at the top and bottom of the results list to move between pages.
3. Click a column heading to sort the results based on that heading.
4. Click the name of a user to view details for that user.
5. The User Approval Details page is displayed.
The User Approval Details page enables you to approve or decline the user selected from the User Approval page.
To approve or decline a user awaiting your approval:
1. Review the Additional Personal Information section to ensure that the State Affiliation, Service Component, Installation and Staff Role for the user are correct.
2. Scroll down to the User Approval History section where you can view a history of profile changes and approvals for the user, including the current change which is flagged as Pending.
3. View a history of user logins in the USER LOGON HISTORY section.
Note that if this is a newly created user account, there will be no logon history.
4. Scroll down to the bottom of the page and do one of the following:
To approve the change(s), click the APPROVE button at the bottom of the page. A confirmation message is displayed indicating that the user role has been approved. Click the OK button.
To decline the new user or role permission change, click the REJECT button at the bottom of the page. A confirmation message is displayed indicating that the user role has been rejected. Click the OK button.
Once a user's role request has been approved, they will receive an email notification letting them know they can now login to their account.